Collect Ather Ride Logs using API
Table of Contents
It has been 6+ months since the OCR based telegram bot was setup and opened to users. There were 60+ users using the bot and few of them setup their own bot at a time and the count started reducing to single digit. I expected that as long as there is any interactions required from users, it will not work out.
I started setting up the API based bot 3+ months ago and showed how to setup their own in the telegram group. Some are using it and found it is useful.
I want to write a proper documentation that explains how to set it up so that it would be easy to implement. This bot will not be available centrally as it contains lot of personal information and holds lot of data which can’t be handled the free usage provided by Google and Telegram as highlighted in the previous post. So, if you plan to use it, you need to get your hands dirty.
The OCR based bot is continue to exist, there’s no change on that.
Purpose #
This is just the enhanced version of the previous OCR based bot, with less uers interaction with more data such as ride mode, braking, coasting distance, etc.,
The Ather mobile app stores only the last 20 rides. If the a person uses OCR based bot then (s)he can get the last 20 rides only. The automated bot extracts all the historical data from the vehicle purchase time.
One important thing to note, Ather might block this api access in future. So it may or may not work.
They already blocked api access for any triggers done from Google App script as of 5th Oct 2024. I’m updating a workaround how to trigger this api from other sources.
Update on 14th Apr: Extracting the API token from ADB log is disabled from version 11.3.0 onwards. a workaround is added.
Requirements #
- You should be the owner of Ather Vehicle and you should have the option (password or OTP) to login to Ather mobile app.
- A PC with python installed.
- A Google account to store the ride details.
- A telegram account to interact with the data and getting alerts.
- A home server or a Github account to trigger the API calls
- Some patience.
How It Works #
- User takes a ride, the relevant data would be shared to Ather for their analysis.
- Ather stores the data in their FireBase database.
- A script retrieves the data using API endpoints on a periodical interval and stores it in Google sheet.
- Telegram bot send an alert to the owner when there is an update on new ride.
- In addition, an user can interact with bot for charts and analysis.
Setup #
Get API Key from Ather app #
Copy the contents of this gist to your local pc and save it as ev-log-bot-auth.py.
then run the following commands
pip install requests
python ev-log-bot-auth.py
Input your mobile number that is registered with your Ather vehicle, then the OTP. It will give you the api token, if the OTP is validated successfully.
Get your Vehicle Identification Number (VIN) #
This should be available in your RC book or in the boot or in the vehicle dashboard.
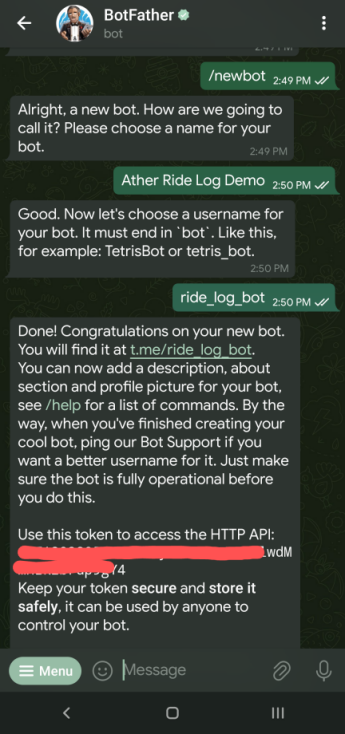
Setting up Telegram Bot #
- Search for BotFather on Telegram or use this link: https://t.me/BotFather.
- Start a chat and choose
/newbotfrom the menu. - Provide basic information such as Bot’s name and username (naming rules apply).
Get your Telegram Numeric ID #
Go to https://t.me/userinfobot on your telegram client and say hi. You will get a numeric value.
Google Slide #
Create a new Google slide file in your Google Drive.

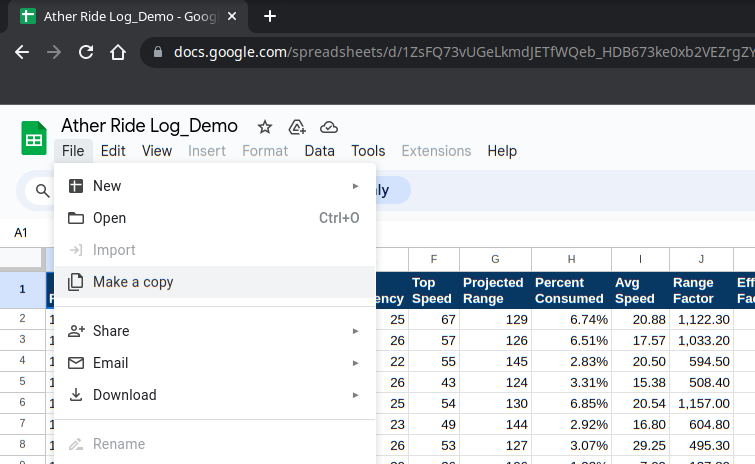
Google Sheets #
Make a copy of this Google Sheet (refer readme).
It will ask you to name the file and also highlight that the scripts also will be saved.
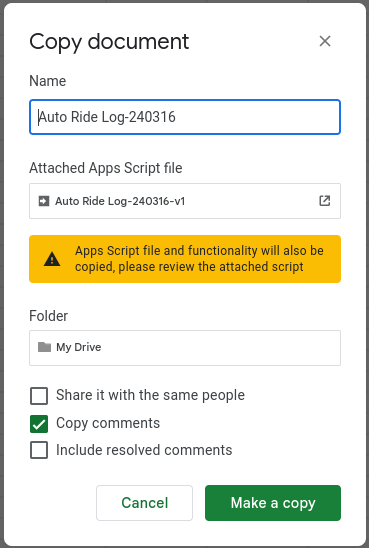
You can rename the sheet the way you want and click ‘Make a copy’. Once the file is saved, you will be able to make edits to the sheet. Make sure you check copy comments option.
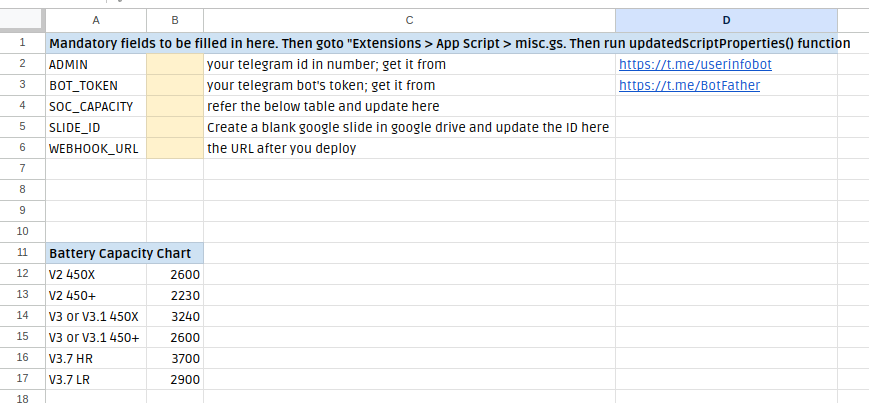
Know your Vehicle to know the SOC Capacity #
Go to the options sheet and find the battery capacity from range A11 to B17
Fill the details in options Sheet #
Go to options sheet and fill the details on yellow highlighted cell (from cell B2 to B8) that you got from above steps.
Keep the WEBHOOK_URL as blank.
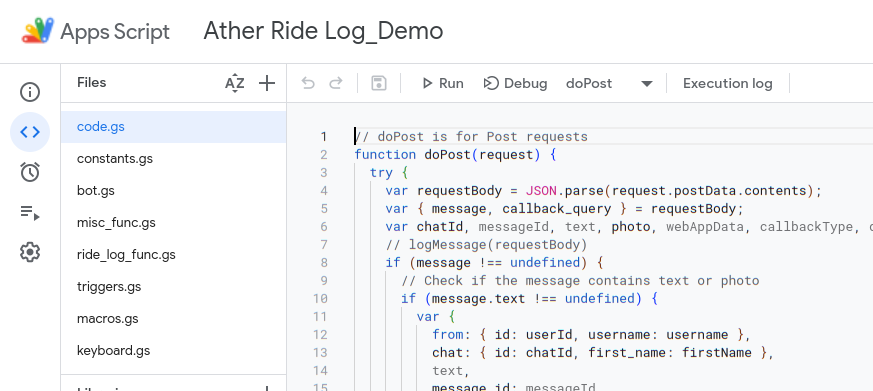
Setting up Script #
Access Google Apps Script via the “Extensions” menu in Google Sheets.
You will get a pop-up like below. Make sure you select the highlighted poritions. If you make mistakes here, your bot will not work.
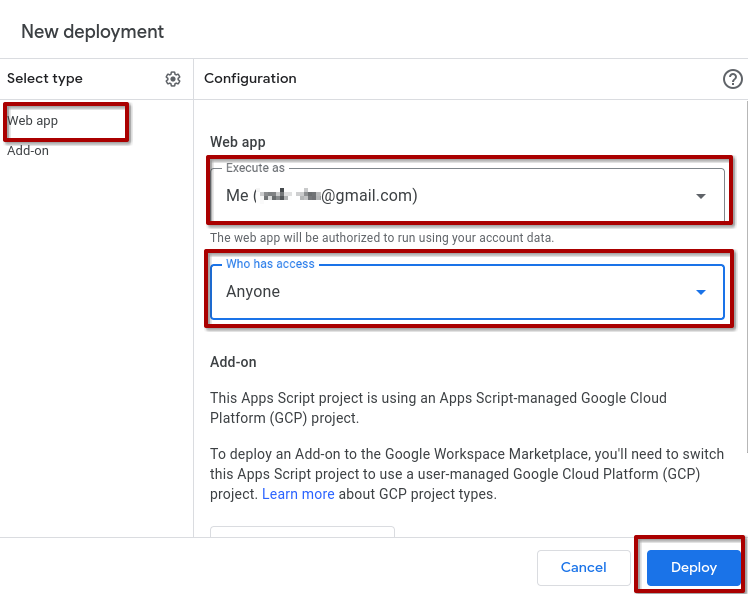
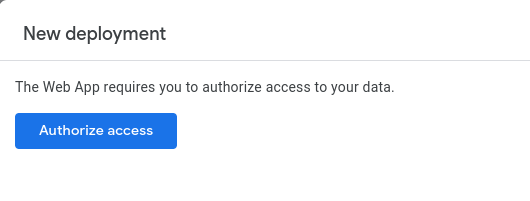
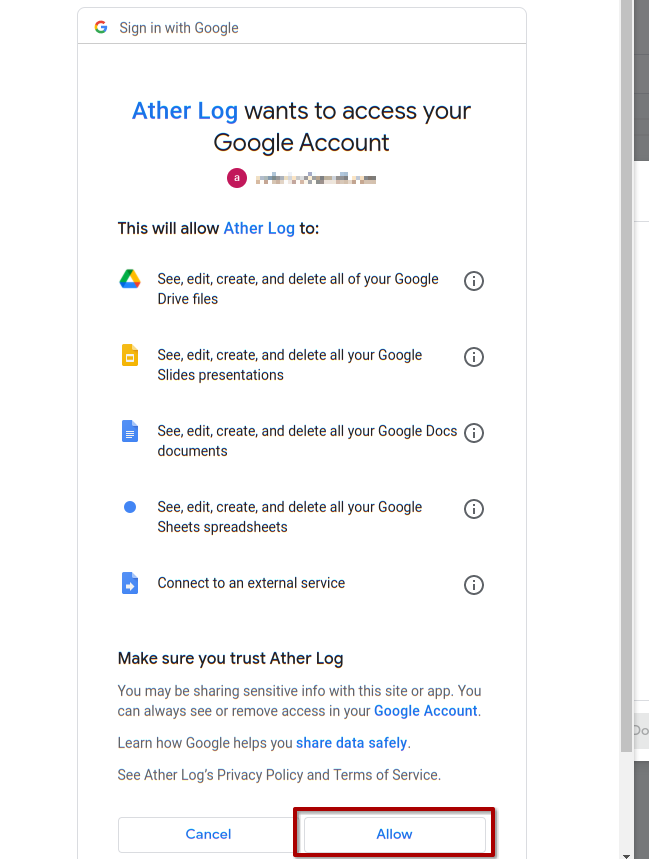
Then you need to follow the steps as highlighted in the screenshots. These steps are required to access your google drive, google sheets, google docs and slides, to process further.
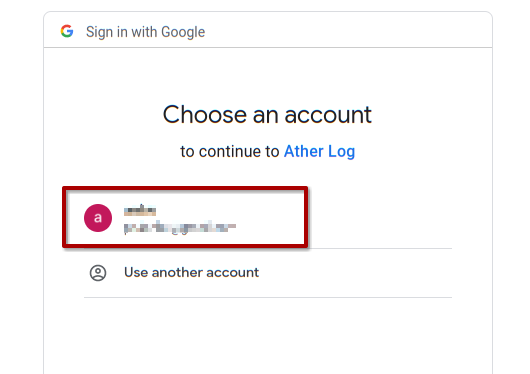
Choose your gmail ID, if you don’t want to use your primary gmail you can create/use a new one.
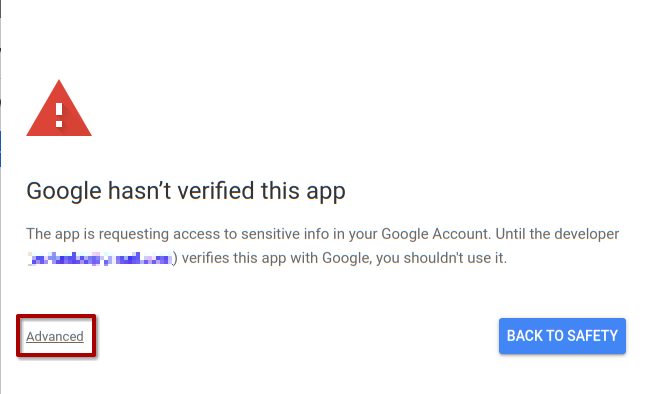
You will get a warning that the app is unverified. Click advanced
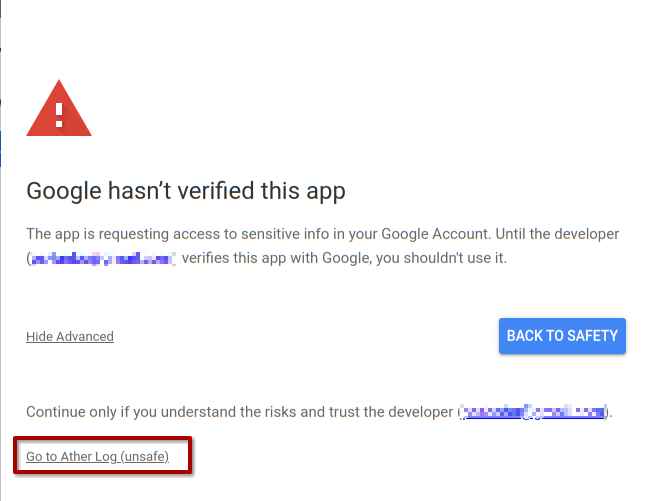
Click go to ‘your google sheet file name’
Click Allow
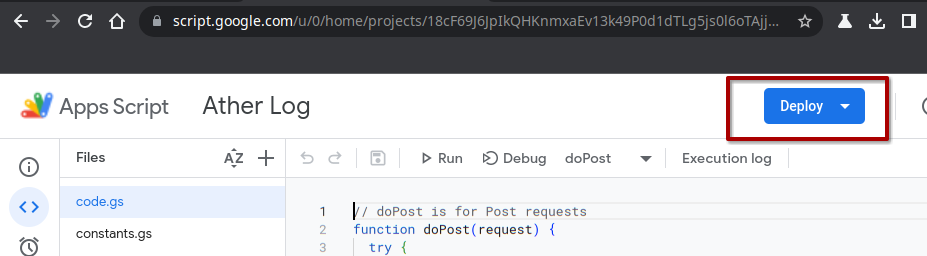
You will get a deployment URL. Keep it safe and do not share it with anyone.

Multiple deployments (Not required for first time) #
Do not use New Deployment multiple times, if you do the WEBHOOK_URL will change.
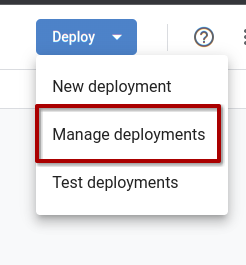
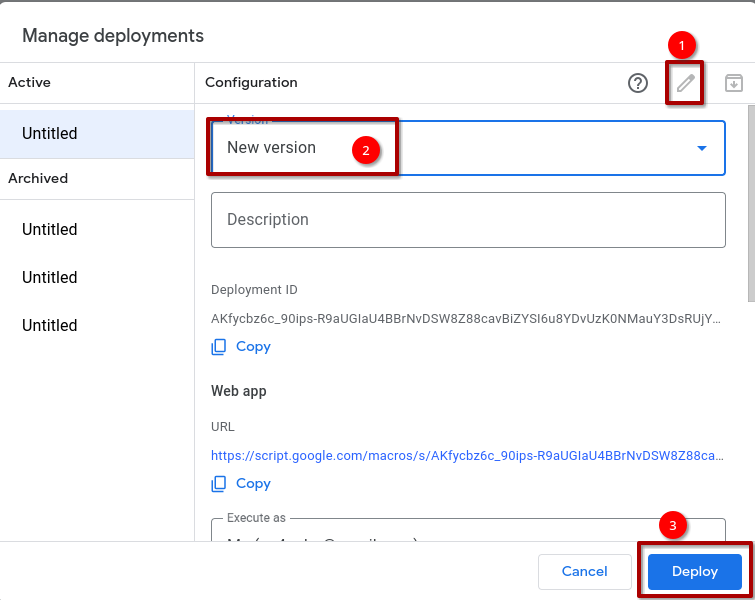
If you wish to deployment again go to Deploy > Manage Deployments > Click Pencil Icon > Version to New Version > Deploy. This will retain the WEBHOOK_URL as same.
Update Script Properties #
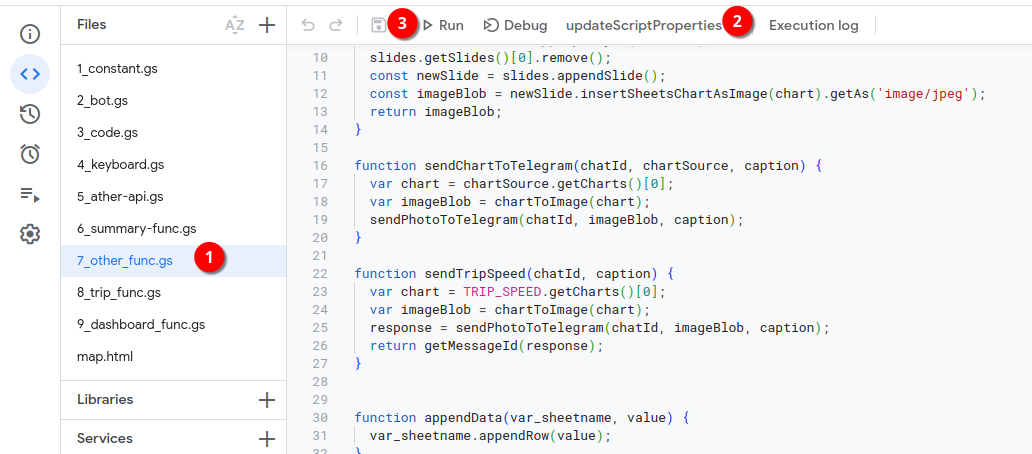
Now go to 7_other_func.gs on the left panel, select UpdateScriptProperties function from drop down then click Run. This will update the script properties that you fill in ‘options’ sheet.
The above step can be manually done by clicking the gear icon on the left pane, which will open up the project settings.
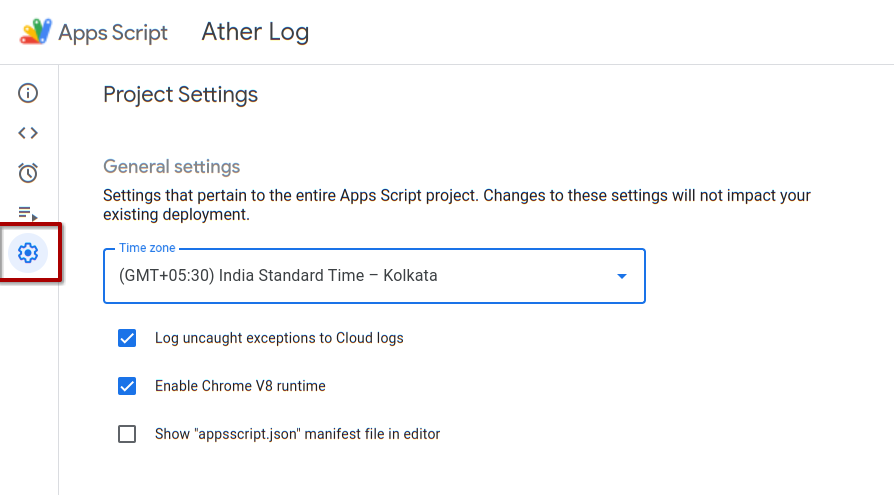
Scroll to the bottom where you can see the Script Properties.
Open the telegram app and open the bot that you have created. If you don’t know the bot, the link would be available in BotFather. Hit ‘Start’ button.
Setup Triggers #
As mentioned earlier Ather blocks accessing the api from the Google Appscript. So triggering the api in order to get the data should be done outside the Google Sheets.
Follow any of the below steps to populate the data in the google sheets.
Option 1: Github Actions #
- Create a github account, if you don’t have one.
- Go to ev-log-bot-addon repo and fork it into your github account.
- Go to Settings (should be available on the top) of the repo, then Secrets and Variables (should be available on the left) and click Actions.
- Under Secrets > Repository Secrets, click New Repository Secret button.
- You need to create 3 secrets (
API_TOKEN,SCOOTER_ID,WEBHOOK_URL) with the relevant information. - The name of the secrets are case sensitive, don’t make any mistakes.
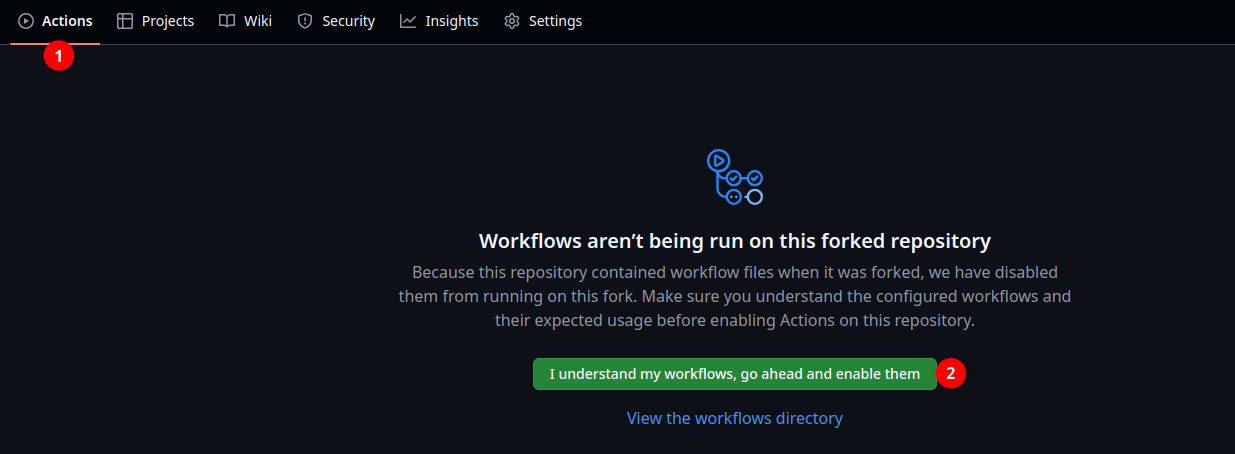
- Go to
Actions(should be on top in the same level of Settings) and click `I understand my workflows, go ahead and enable them’ button.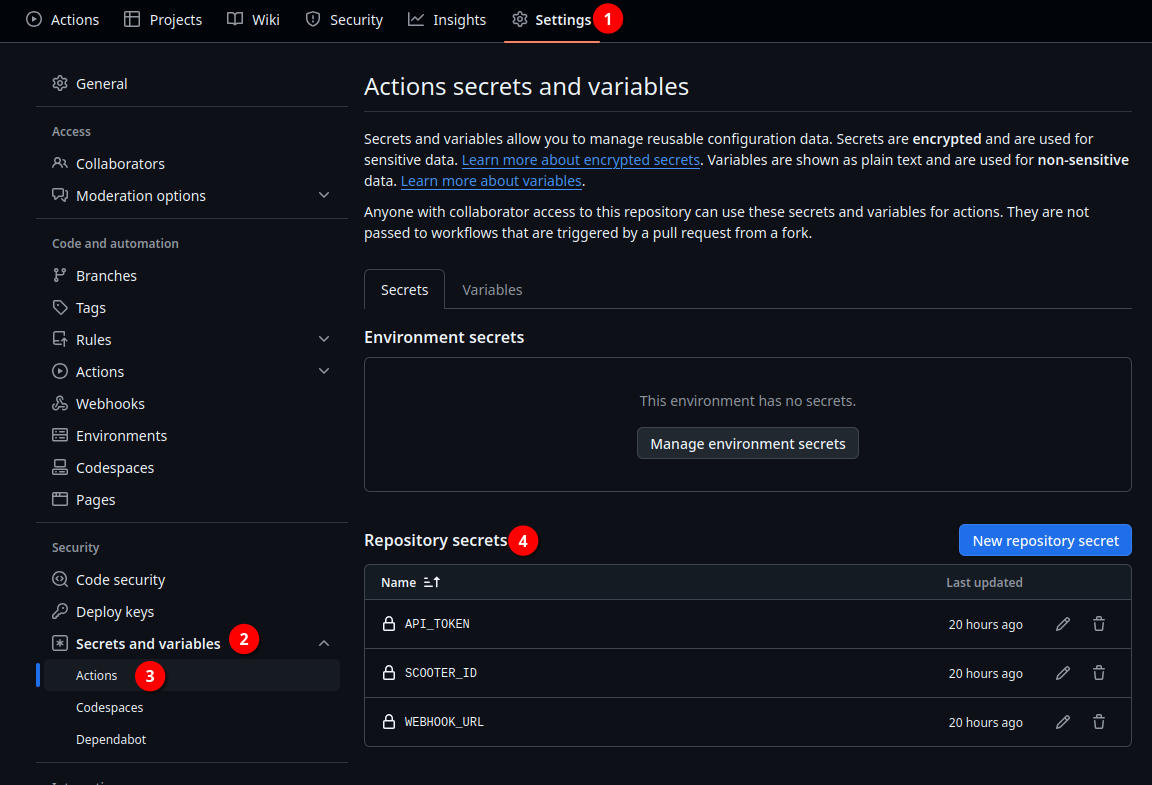
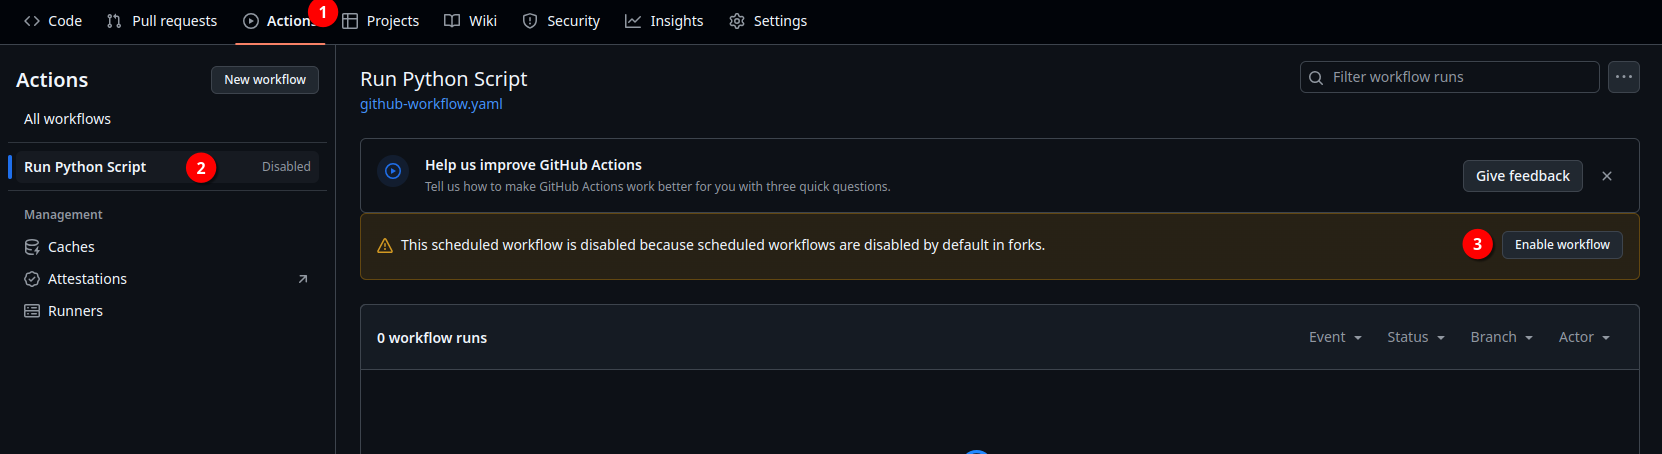
The code would retrieve the ride details for every 23 minutes. This is calculated considering the 2000 free minutes offered by Github. Decreasing the time would result in hitting the limit set by Github.
Option 2: Using a home server or a pc #
- Clone ev-log-bot-addon repo to your home server.
- Make a copy of
.env_exampleas.envand update the 3 variables that are relevant to your vehicle and your Google sheets. - Suggest you to create a virtual env using venv, the code would work fine even without a virtual env.
- Install the requirements by running the command
pip install -r requiremnets.txt. - Running the
python main.pywould pull the ride details from ather server and updates into Google Sheets. - You may schedule a cron job to pull the data on periodical interval.
Extracting Historical Data if you are a new user #
If you analyse the python script on the ev-log-bot-addon is setup to extract the last 20 rides only. Refer this line:
ride_data = get_ride_details(scooter_id, api_token, 20, "desc")
You may need to change the above code to extract all historical rides like below:
ride_data = get_ride_details(scooter_id, api_token, 2000, "asc")
main.py file on the Github repo and commit the change. Wait for the next interval to see the changes on the Google Sheets. Once all your historical data is updated, you must change the code back to original. Your rides will not get updated, if you don’t update the code back to original.
Ather might revoke the api keys on periodical basis. You need to update the api keys on the Environment Variables or Github Actions Secrets when there is a change.
Usage #
Start the bot or send /start command to the bot, it would repond with the shortcut keys to interact with the bot.
Following are the shortcut keys (not case sensitive) at this time the blog post is published.
D - Daily Charts
W - Weekly Charts
M - Monthly Charts
DS - Daily Summary
WS - Weekly Summary
MS - Monthly Summary
set A/B/C - Set Trip A/B/C by replying to the ride stat.
get A/B/C - Get Trip A/B/C info
SOC value - set an alert when the SOC drops below the value
DASH - displays the option to get the dashboard
For questions, contact me on this Telegram channel. I’ll respond when available, but immediate support isn’t guaranteed.
The code behind this process is open and available in github repository under ‘auto’ branch. Adding a ⭐ would be much appreciated.